Replacing the copper tube in a pool heater can restore efficient water heating and prevent leaks. Pool heaters, especially older models, often rely on copper tubing for heat exchange, but over time, the copper can corrode or develop leaks. In this guide, we’ll cover each step to replace the copper tubing, ensuring your pool heater runs smoothly and efficiently again.
Why Replace the Copper Tube?
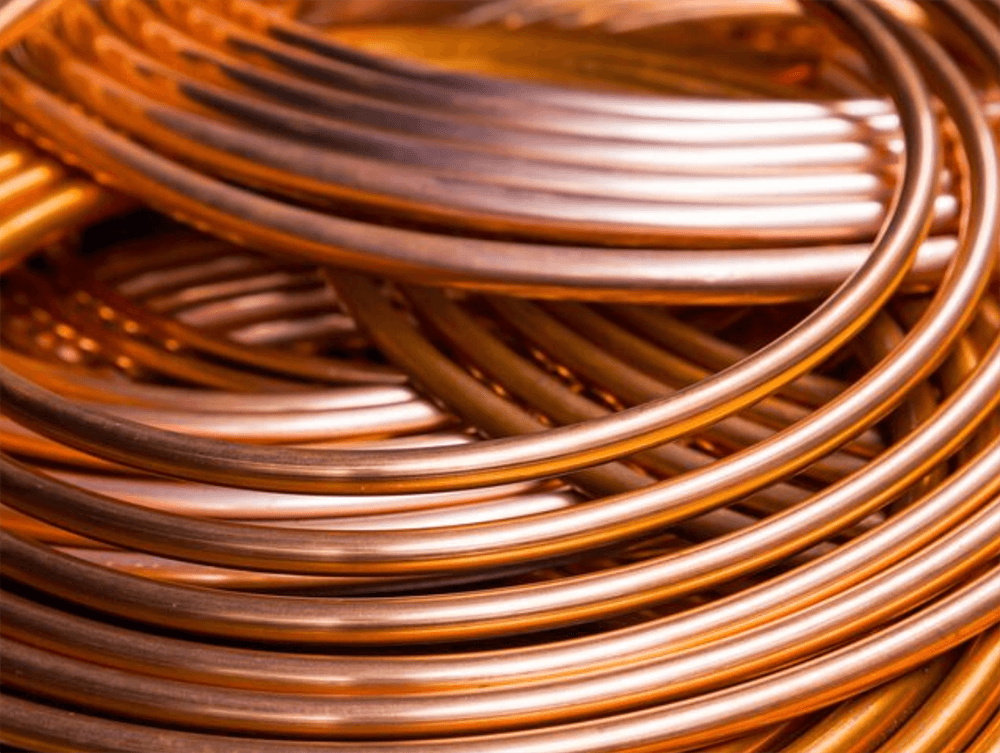
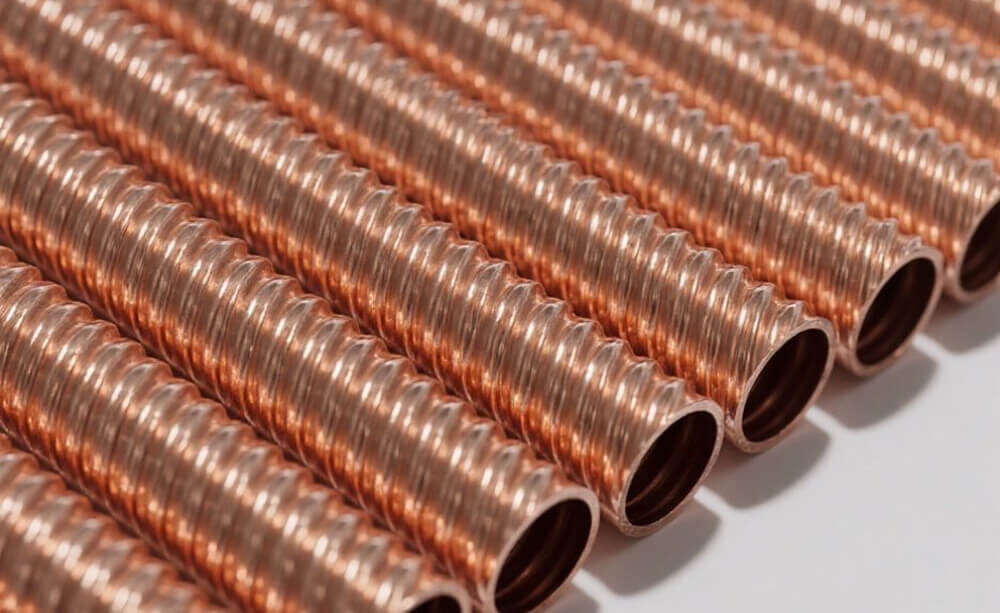
Copper tubing in pool heaters serves as a vital heat exchanger. As water flows through the copper tubes, it absorbs heat and warms up before returning to the pool. Over time, copper tubes can corrode, develop pinhole leaks, or clog, reducing heating efficiency and causing potential water leaks. Replacing the tube helps restore heater function and extends the heater’s life.
Tools and Materials You’ll Need
Before you start, make sure you have the following tools and materials:
- Replacement copper tubing (compatible with your heater model)
- Pipe cutter
- Adjustable wrench
- Pipe wrenches
- Soldering torch and solder
- Flux (for soldering)
- Emery cloth or sandpaper
- Teflon tape or pipe sealant
- Safety goggles and gloves
“To replace the copper tube in a pool heater, turn off the heater, drain any water, remove the old tubing, and install the new tube with secure connections to prevent leaks.” This step-by-step approach ensures a safe, efficient replacement that will restore heating efficiency.
Step 1: Turn Off the Pool Heater and Drain the System
Safety first! Ensure the heater is powered down and completely drained before beginning any work.
- Turn Off Power and Gas: Switch off the heater’s power supply and, if it’s a gas heater, turn off the gas supply as well.
- Drain the Heater: Open the drain valve to remove any remaining water from the heater. This step helps prevent water damage and makes it easier to remove the copper tubing.
Step 2: Remove the Heater Access Panel
To access the copper tubing, you’ll need to open the heater’s access panel.
- Locate the Access Panel: Most pool heaters have an access panel on the front or side. Use a screwdriver or wrench to remove any screws holding the panel in place.
- Identify the Copper Tube: Once the panel is open, locate the copper tubing, usually positioned within the heat exchanger unit. Inspect it to confirm that it needs replacement, looking for signs of corrosion, leaking, or other damage.
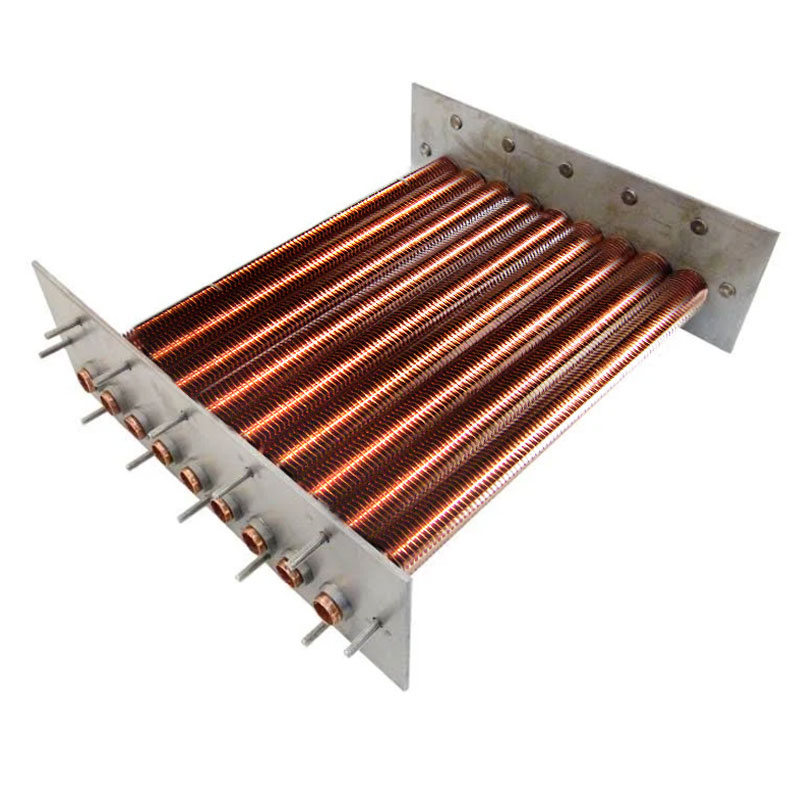
Step 3: Disconnect the Old Copper Tubing
Removing the old tubing carefully is key to avoiding further damage to the heater’s other components.
- Loosen Connections: Use an adjustable wrench to loosen the nuts or fittings holding the copper tubing in place. Be gentle to avoid damaging any nearby connections.
- Cut the Copper Tube: If the tube is too corroded or bent to unscrew, use a pipe cutter to remove it. Cut as close to the fittings as possible for easier removal.
Step 4: Prepare the New Copper Tubing
Proper preparation of the new tube ensures a secure, leak-free fit.
- Measure and Cut: Measure the length of the old tube and cut the new copper tubing to the same length.
- Clean the Ends: Use an emery cloth or sandpaper to clean the ends of the copper tubing until they’re shiny. Cleaning removes oxidation and ensures a strong solder bond.
- Apply Flux: Coat the cleaned ends of the tubing with flux to prepare for soldering, which will help create a leak-proof seal.
Step 5: Install and Solder the New Copper Tube
With the new tubing prepared, it’s time to attach it securely to the heater.
- Position the New Tube: Insert the new copper tube into the heater’s fittings, making sure it’s aligned correctly.
- Solder the Joints: Use a soldering torch to heat each joint. Apply solder to the heated joint, allowing it to flow and create a strong bond. Be cautious when using the torch, as pool heater components can be sensitive to high heat.
- Seal the Connections: Allow the soldered joints to cool, then check the connections to ensure they’re secure. Wrap any threaded fittings with Teflon tape or apply pipe sealant to create an additional seal.
Step 6: Test for Leaks and Reassemble the Heater
Before you close up the heater, make sure the new copper tubing is leak-free.
- Turn on the Water Supply: Reopen the water supply to fill the heater. Check the new tubing and joints for any leaks. If there are leaks, tighten the fittings and, if necessary, add more solder to the joints.
- Turn on Power and Gas: Once you confirm there are no leaks, restore the heater’s power and gas supply if applicable.
- Reattach the Access Panel: Replace the access panel, securing any screws or bolts you removed earlier.

Step 7: Test the Heater’s Performance
Finally, run the pool heater to confirm that the replacement was successful.
- Run the Heater: Turn on the heater and allow it to reach operating temperature. Check that it heats the water effectively and that there are no unusual sounds, leaks, or pressure issues.
- Inspect the New Tubing: After a few minutes, inspect the copper tube once more to ensure everything is functioning smoothly and there are no leaks.
Maintenance Tips to Extend Copper Tube Life
To extend the life of the new copper tubing and prevent future corrosion or leaks, consider these maintenance tips:
- Balance Pool Chemistry: Proper water chemistry, especially pH and alkalinity, reduces the risk of corrosion in copper tubes.
- Clean the Heater Regularly: Regular cleaning prevents debris buildup that can lead to clogs and reduced heating efficiency.
- Winterize the Heater: If you close your pool during colder months, drain and winterize the heater to protect the tubing from freeze damage.
Replacing the copper tubing in a pool heater can seem daunting, but with careful steps and proper preparation, it’s manageable as a DIY project. This repair can restore your heater’s efficiency, eliminate leaks, and help maintain a comfortable pool temperature for seasons to come.
Summary: To replace a pool heater’s copper tube, turn off power, drain the heater, remove the old tube, and install a new one using secure fittings and soldered connections. Proper replacement will ensure leak-free operation and efficient water heating.
By following these steps, you’ll enjoy a reliable, efficient pool heater that keeps your pool at the perfect temperature.


