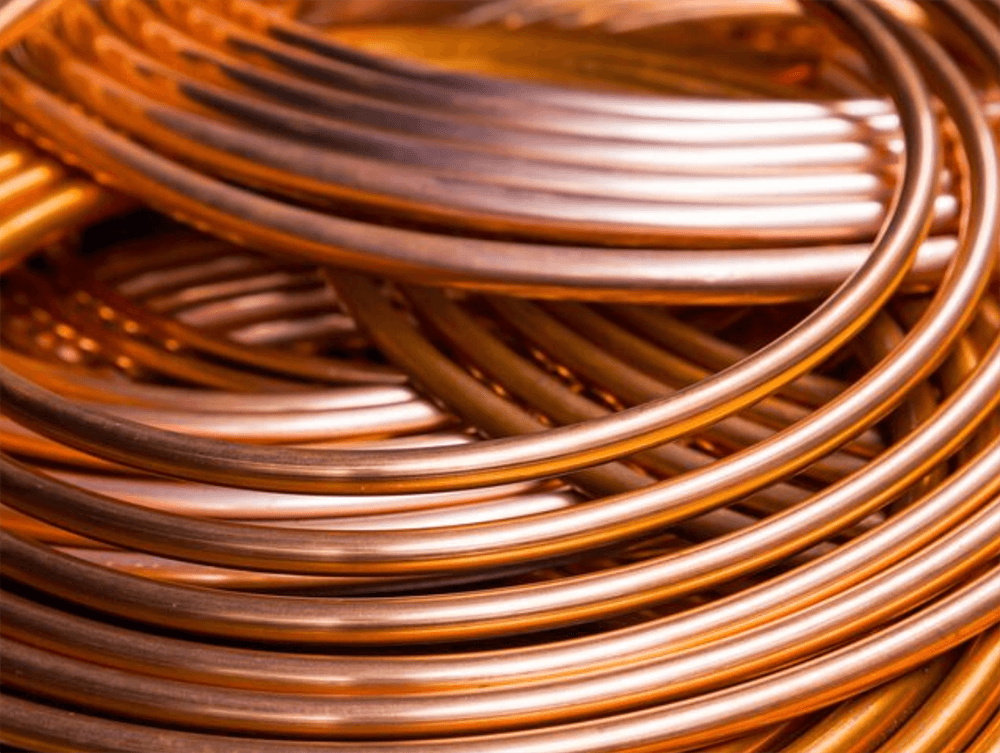
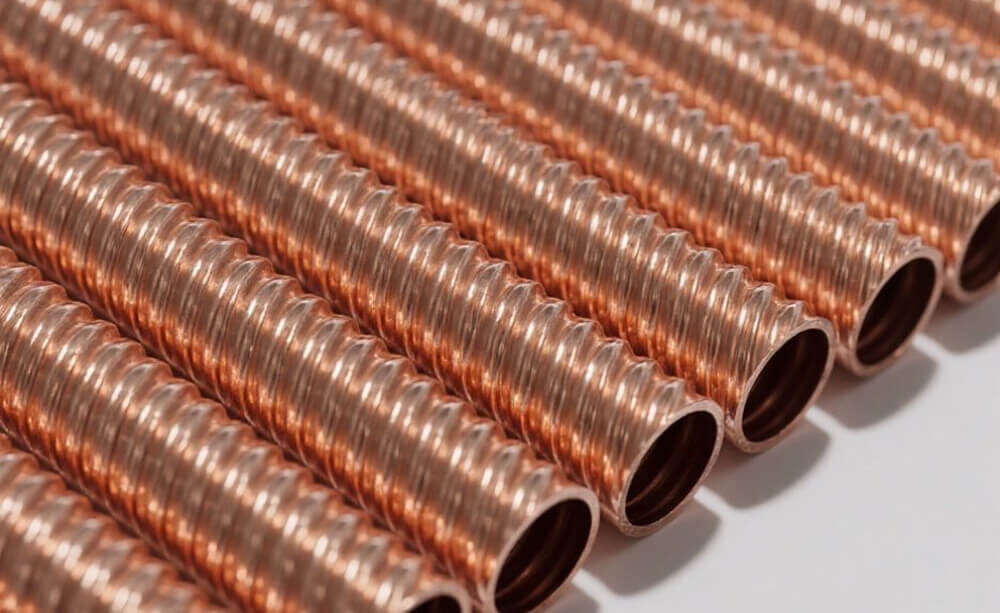
If you’re dealing with a leaking or corroded copper pipe, replacing a damaged section yourself can save you time and money. Although copper piping is known for its durability, over time, it can develop leaks or corrosion due to environmental factors or prolonged use. In this guide, we’ll walk you through the process of replacing a section of copper pipe, including necessary tools, safety tips, and each step to ensure a successful repair.
Replacing a section of copper pipe involves cutting out the damaged area, preparing new pipe, and securing the new piece with connectors to ensure a leak-free seal. Follow each step carefully to prevent future leaks and extend the life of your plumbing.
Tools and Materials You’ll Need
Before you start, gather these essential tools and materials. Having everything on hand will make the process smoother.
- Pipe Cutter: Specifically designed for copper, it helps you make precise, clean cuts.
- Emery Cloth or Sandpaper: Used to clean the ends of the copper pipe for a good connection.
- Copper Pipe: A replacement pipe matching the diameter of your existing plumbing.
- Pipe Connectors: Options include soldered couplings or push-fit connectors like SharkBite.
- Torch and Solder Kit: For traditional copper pipe repair, you’ll need a torch, solder, and flux. If you’re using push-fit connectors, you can skip these.
- Measuring Tape: Essential for measuring the length of the pipe you need to replace.
- Pipe Wrench or Adjustable Pliers: To help with loosening and tightening connections.
- Bucket and Towels: For catching any residual water in the pipe.
Step 1: Turn Off the Water Supply
Before cutting into any pipes, it’s crucial to turn off the water supply to the section you’re working on.
- Locate the main shut-off valve and close it to stop water from flowing through the pipes.
- Open a faucet nearby to drain any residual water, which will help minimize spills during the repair.
Step 2: Locate and Mark the Damaged Section
After the water is off and drained, find the exact section of pipe that needs replacing.
- Inspect for Leaks or Damage: Identify visible cracks, corrosion, or areas with evident leaks.
- Mark Your Cuts: Using a marker, mark about an inch on either side of the damaged area. This will be where you make the cuts to remove the section.
Step 3: Cut Out the Damaged Pipe Section
Using a pipe cutter specifically designed for copper will give you the cleanest and most precise cuts.
- Position the Cutter: Place the pipe cutter over one of the marks you made. Tighten the cutter slightly and rotate it around the pipe.
- Make the Cuts: As you turn the cutter, gradually tighten it with each pass until the pipe is cut through. Repeat this process for the other mark.
- Remove the Damaged Section: Once cut, remove the section of damaged pipe and dispose of it properly.
Step 4: Prepare the New Pipe and Existing Ends
To ensure a secure, leak-free connection, both the existing pipe ends and the new piece need to be clean and free of oxidation.
- Clean the Ends with Emery Cloth: Use emery cloth or sandpaper to polish the ends of the remaining copper pipe and the ends of the new pipe section. Clean until the copper is shiny, as this improves the seal and prevents leaks.
- Apply Flux (if Soldering): If you’re using soldered couplings, apply flux to the pipe ends. Flux helps the solder bond to the pipe, ensuring a secure, leak-free joint.
Step 5: Attach the New Section of Pipe
Depending on your comfort level and tools, you can use either soldered fittings or push-fit connectors. Here’s how to do each:
Option A: Using Soldered Couplings
- Position the New Pipe and Couplings: Slide a coupling onto each end of the existing pipe and insert the new pipe section.
- Heat the Joint with a Torch: Lightly heat the joint with a propane torch, moving the flame evenly around the coupling.
- Apply Solder: Touch the solder to the joint. The heated pipe will draw in the solder, forming a watertight seal. Repeat for the other joint.
- Let Cool and Inspect: Allow the solder to cool completely before moving the pipe. Inspect each joint to ensure a solid seal.
Option B: Using Push-Fit Connectors
- Position the Push-Fit Connectors: Slide a push-fit connector onto each end of the existing copper pipe.
- Insert the New Pipe: Push the new section of copper pipe into each connector until you feel it click into place.
- Check the Fit: Ensure each connector is secure and fully seated. Push-fit connectors create a tight seal without the need for soldering or additional tools.
Step 6: Turn On the Water and Test the Repair
With the new pipe section installed, it’s time to test your work.
- Slowly Turn On the Water Supply: Gradually open the main shut-off valve, allowing water to flow through the pipes.
- Check for Leaks: Inspect each joint for any signs of water leakage. If you spot any leaks, turn the water off and recheck the connections.
- Tighten or Re-solder if Necessary: If using push-fit connectors, ensure they are seated correctly. For soldered joints, you may need to reapply heat and solder.
Tips and Troubleshooting
- Avoid Excessive Heat: When using a torch, avoid overheating the pipe, as this can cause damage. Move the flame evenly to prevent overheating any specific area.
- Double-Check Water Shutoff: Be certain the water is completely off and drained before starting. Even a small trickle can interfere with soldering and weaken connections.
- Work in a Well-Ventilated Area: If soldering, make sure the area is well-ventilated to avoid inhaling fumes from the flux and solder.
Conclusion
Replacing a section of copper pipe requires careful preparation, accurate cuts, and secure connections to prevent leaks and extend the life of your plumbing. Whether using soldered couplings or push-fit connectors, following each step closely will help ensure a successful repair.
With the right tools and techniques, you can confidently handle minor plumbing repairs yourself. However, if you encounter any issues or feel uncertain, don’t hesitate to consult a professional plumber. Proper pipe replacement can prevent costly water damage and ensure your plumbing system runs smoothly for years to come.


